
I love colored glass, stained glass in particular.
When I first saw this technique that is immediately what came to mind.
I had grandiose plans of making some incredible stained glass images, but I have found that some images work better than others with this technique.
For my very first tutorial, I chose this simple Hello Kitty image from StampitCrazy.

I used StazOn ink and a sheet of acetate I found in my craft room. You can use any kind of acetate from overhead transparencies to the backing from stickers.
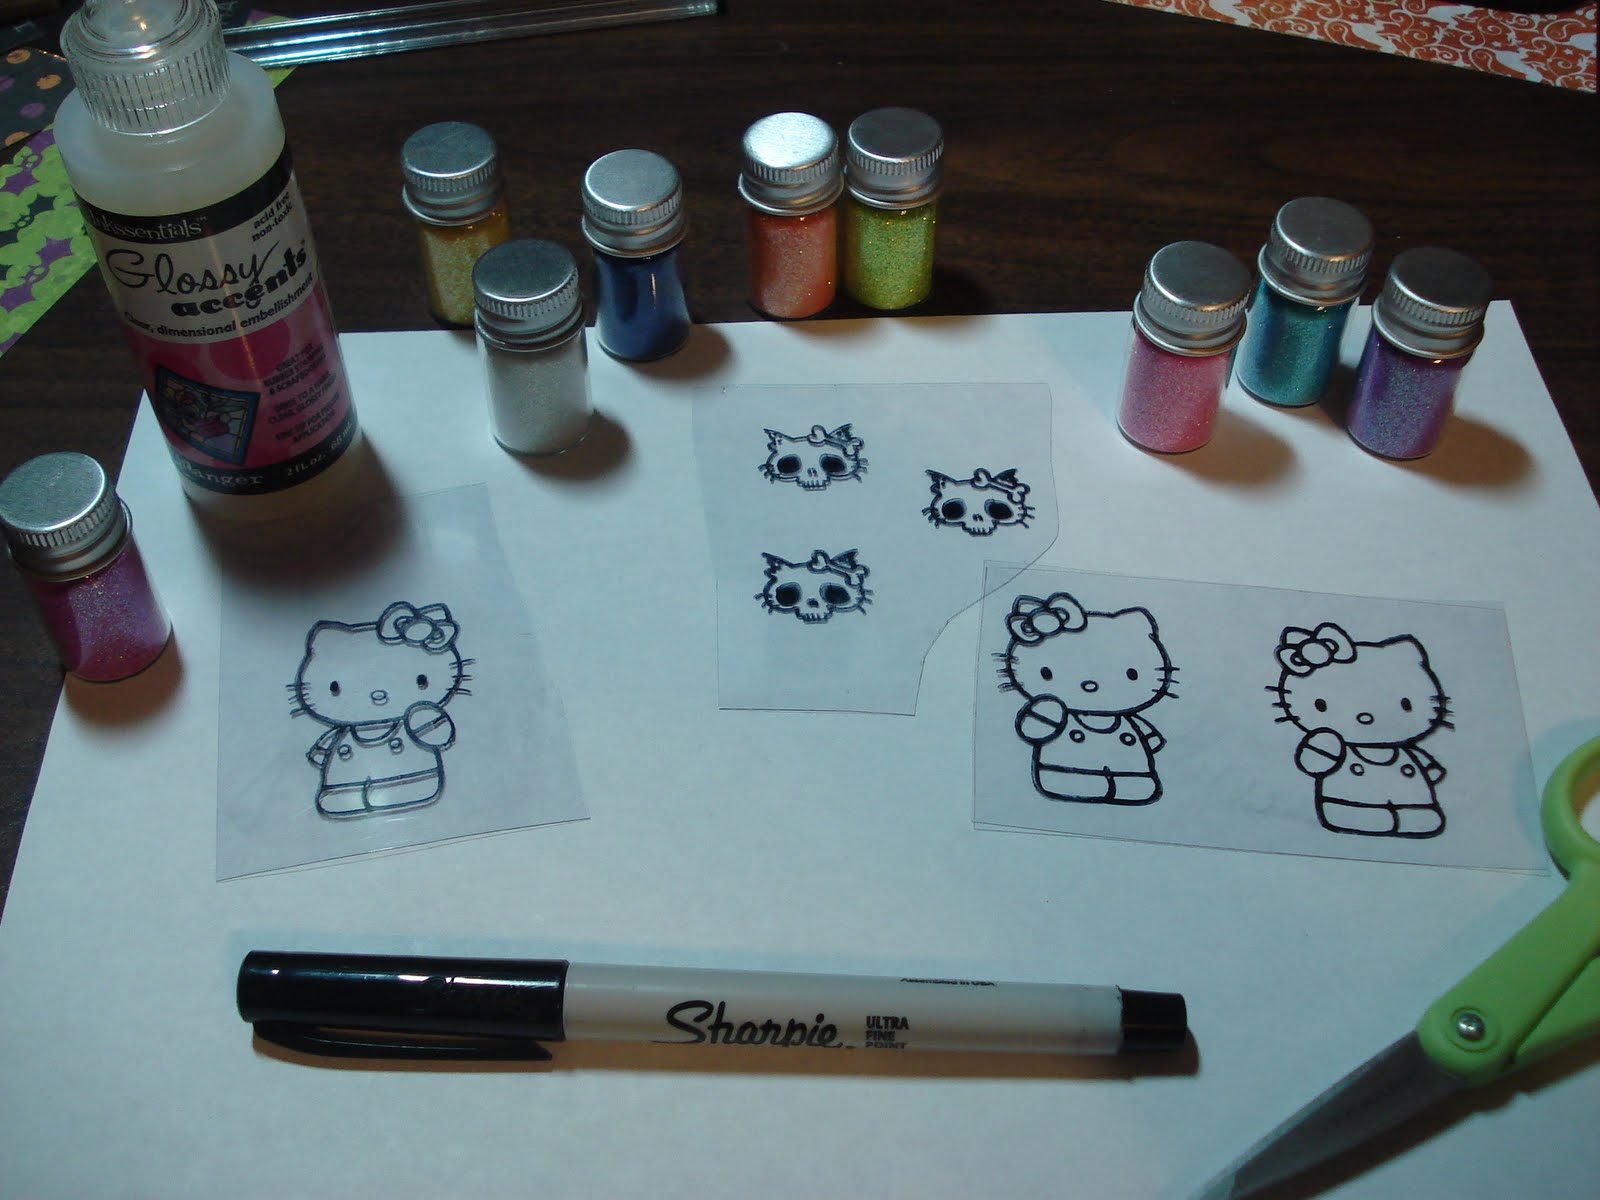
I've got all of my goodies out.
I have chosen my glitter colors (Doodlebug), got my Glossy Accents, scissors, and an extra fine Sharpie to fill in holidays (blank spots) in the stamped image.

Once you have stamped your image with StazOn and let it dry completely (about 3 minutes or so), flip it over and start putting Glossy Accents on the reverse side of the image where you want your first color.

I have colored her bow and shirt orange first.

I like to let the glitter sit in the Glossy Accents for a minute or two to give it time to soak in and give a more solid appearance, before I dump it back into the jar. I also hold it up to the light to see if there are any light spots that still need to be filled in.
I use a small paintbrush to remove any excess glitter before I add the next color.

Adding white for her face and feet and hands.

Sometimes it is hard to keep the GA and the glitter confined to a small space.
No worries, just let it set up for a few minutes (not dried all the way though), and use a push pin or needle tool to carefully push the glitter and GA back into the desired space, or remove it completely and try again.

Finally, I add the black glitter for her overalls, and I let it all dry for at least 15 to 20 minutes.

Once it is all dry, you can carefully trim it out, and using either more
Glossy Accents, or another strong wet glue, adhere it to your project for lots of glittery gorgeousness!

Thanks for stopping by and if you decide to try this fairly simple technique, I'd love to see what you made!
thanks for the tutorial! and I love that you can even manage to make hello kitty Goth! it's great!
ReplyDeletefantastic, I too love stained glass and these look great, thanks for the tutorial (love it when people share the knowledge hehe) x
ReplyDeleteI HOPE you enter these in the New More Blog Candy!
ReplyDeletei love these too much hello kitty rocks, can i ask where you got the too cute for words, little stamp from too ???
ReplyDeleteWow, that's neat. TFS!
ReplyDeletebeautiful!
ReplyDeleteOoooh toooooo cute - and thanx for the tips!
ReplyDeletexXx
I'll be checking my mailbox everyday waiting for my super cute hello kitty card!!! : )
ReplyDeleteXOXO Curseteen