Showing posts with label wall hanging. Show all posts

Wednesday, November 13, 2019

The more peculiar the better!!

Gah! 
Another Halloween season is behind me, and I couldn't feel less 
accomplished in pretty much every aspect of my life. 

I guess that's why I feel so deeply honored to be asked to
create for Lizzy of Oddball Art Co. It has been just the nudge 
I needed to get going creatively again.  

I mean, how can you NOT be inspired by this artwork?
Since really embracing my inner witchiness, 
these kind of images really resonate with me.
This little witch beauty and her accessories 
just for premium subscribers at Oddball Art Co.

I already had a completed canvas board with a great texture
and crackle finish painted, and ready to go.
It paired perfectly with a spiderweb doily and the
images from this awesome stamp set. And then it was 
obvious that I needed to cut up a TH quote chip.
I sanded the edges, and then inked them using oxide inks
which gave them just the finish I was looking for.   

Lastly, I added some bling and sparkle, some TH clips,
a chain, and some of my favorite and coveted Halloween ribbon.
Oh?! Did I forget to mention that I mounted her head
 on an action wobble thingy? Well, I did, and it's perfect!

Thanks for stopping by.
Stay tuned for more Halloween makes, as I'm not even remotely 
ready to start the Yule season.       

Monday, September 5, 2016

New beginnings

I am currently in a moment of growth and great transition.
I just started a new job last week. I haven't had a "real" job in over
eight years. I really didn't want to work for "the man" again, but 
he does pay better than most scrapbook shops and co-op type places.
And I really needed the benefits, too.

I know I'm not the only one going through changes.
I have had a friend on my mind a lot lately. She is kind of the living
representation of the "what doesn't kill you only makes you stronger" ideal.
I wanted to make her something to commemorate her two years of sobriety.
That's a really big deal. Really big.  

I decided to make a wall hanging using a canvas panel.
She has a thing for chickens, so I thought this was a good 
time to break out with some of my Unity stamps.
I've used  the Chicken Wire stamp and the New Day Rooster set.

I painted the canvas panel using black acrylic paint,
and once it was dry I stamped the chicken wire in VersaMark
and silver embossing powder.    

I used a burlap sheet, a clock die cut from a Tim Holtz die,
and some distress inked paper for my focal points. 

I also added some actual chicken feathers, some designer papers,
doilies, die cuts, sequins, seam binding, and wire mesh to give a
rustic country feel to this piece. 

After mounting the rooster to the die cut frame, I used Crackle Accents for a 
vintage look. The CA kind of reactivated the Distress Inks and changed the look
a little bit, but not too bad. I edged the oval with Platinum Stickles along
with a few other pieces. I like the look of mercury glass, and this
shade of Stickles gives me that effect.   

Overall, I'm really pleased with how this turned out.
Sometimes, mixed media has a way of taking on a life of
it's own. I think this one wandered away just enough to make it
interesting.

Thanks for stopping by today.

I'd like to enter this wall hanging in the following challenges:


New beginnings

I am currently in a moment of growth and great transition.
I just started a new job last week. I haven't had a "real" job in over
eight years. I really didn't want to work for "the man" again, but 
he does pay better than most scrapbook shops and co-op type places.
And I really needed the benefits, too.

I know I'm not the only one going through changes.
I have had a friend on my mind a lot lately. She is kind of the living
representation of the "what doesn't kill you only makes you stronger" ideal.
I wanted to make her something to commemorate her two years of sobriety.
That's a really big fucking deal. Really big.  

I decided to make a wall hanging using a canvas panel.
She has a thing for chickens, so I thought this was a good 
time to break out with some of my Unity stamps.
I've used  the Chicken Wire stamp and the New Day Rooster set.

I painted the canvas panel using black acrylic paint,
and once it was dry I stamped the chicken wire in VersaMark
and silver embossing powder.    

I used a burlap sheet, a clock die cut from a Tim Holtz die,
and some distress inked paper for my focal points. 

I also added some actual chicken feathers, some designer papers,
doilies, die cuts, sequins, seam binding, and wire mesh to give a
rustic country feel to this piece. 

After mounting the rooster to the die cut frame, I used Crackle Accents for a 
vintage look. The CA kind of reactivated the Distress Inks and changed the look
a little bit, but not too bad. I edged the oval with Platinum Stickles along
with a few other pieces. I like the look of mercury glass, and this
shade of Stickles gives me that effect.   

Overall, I'm really pleased with how this turned out.
Sometimes, mixed media has a way of taking on a life of
it's own. I think this one wandered away just enough to make it
interesting.

Thanks for stopping by today.

I'd like to enter this wall hanging in the following challenges:


Tuesday, June 7, 2016

Alice in Wonderland Mixed Media

I have been a fan of the artwork of Sarah aka Star
for quite some time. Like many years ago when I first saw her 
Chibi artwork on the Spesch Designer Stamps site. 
Now she has her own shop selling her awesome artwork directly at
I had to grab the Alice in Wonderland images and make something 
cool with them, so I made a wall hanging that I'm pretty proud of.

I am super happy with how this turned out.
I began with a drawer insert I had that served as a perfect substrate.
I gessoed it and adhered some distressed vintage feeling designer papers. 
Then, I stenciled some diamonds on it using Finnabair platinum crackle paste,
keeping it kind of random. 

I colored up the adorable Alice image in blue greens and beige shades
of Copics. I added in some gold tones and a hint of red, too.
I matted the image onto some distressed background papers to add more texture
and contrast.  

I used some metal embellishments along with various die cuts from Tim Holtz.
I covered the clock and gear die cuts with Golden Pearl Mica Flake and colored it
using TH distress inks. I also used some gold and amber shades of dew drops, 
and some hand colored paper roses in blue greens, as well.  

Then it was the Mad Hatter's turn to get some
color. More beige and blue green shades of Copic coloring.
I added some pops of red to give some nice contrast too.

More die cuts, roses, and dew drops were added to finish it all off
and provide some balance to the entire piece.
I made this for my bestie and she loves it. It now hangs in her craft room.

Thanks for dropping by today.

I'd like to enter this wall hanging in the following challenges:
hope it's not too cute for you guys


Saturday, August 1, 2015

Showing Some Stampotique Love

I have been blessed with wonderful people in my life.
As I have gotten older, I have become more selective on
who I keep in my life, and more diligent on whom I kick
to the curb. Do you enlighten or enrich my life in any way?
Do I feel good about myself when I'm with you? Do I respect
the way you live your life, and how you treat the people in it?
If I answer "No", to any of those questions, out ya go!
No regrets, only lessons.

One of the most incredible people I know is a spunky chick, we'll
call, "Kenzie". I have always admired this lady for how she treats the 
people in her life. She is always thinking of others, and making
you feel like she loves you the best of all her friends. And she's good
at it, too. I always thought I was her special lady, 
until I met all of the others... 

Anyhoo, this chick has had some ailments and medical issues in the past,
at least we thought they were in the past. She never let how poorly she was feeling 
keep her from anything she wanted, or felt she had to do. 
But, back in June of last year, shit got real.

My Super Friend, Wonder Mom, Schmexy Lady, had had an aneurysm.  
Let's be clear though, she had the aneurysm, but waited an entire week to 
go to the hospital for emergency, life saving surgery! And she was only
37 years old at the time. Again, she was a wonder. A medical wonder once
she regained consciousness from her coma. Seriously, she had medical
staff peeking in on her just to see the wonder girl. 
I always knew she was bad ass. Just sayin'.

So, it's been over a year, and her recovery is not over yet, 
but this lady has grabbed  the bull by the horns and showed it how
to really live. She climbed a big volcano in Hawaii all by herself to
celebrate her "Aneur-versary". Yeah, did I mention she's pretty
bad ass? I admire her tenacity, her drive, and her heart.
I love this lady's guts. A lot.

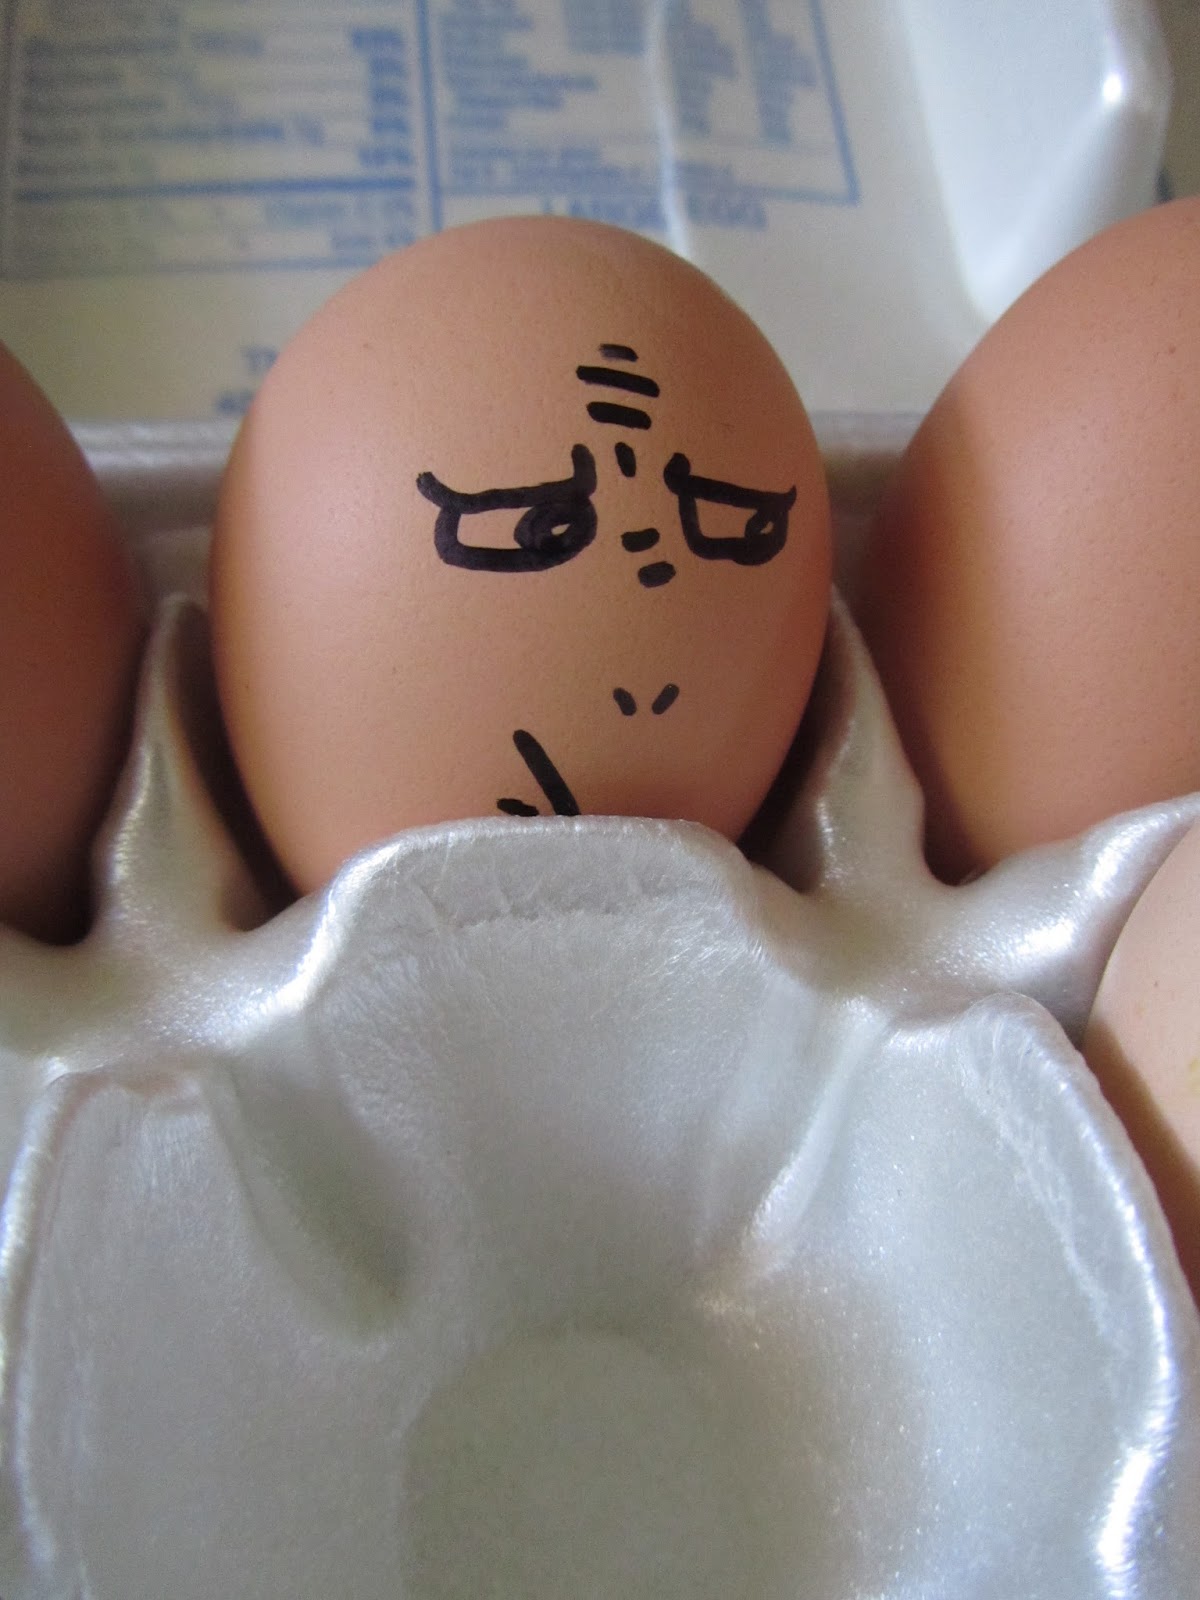
In case you were wondering about the egg pictures, Kenzie always brings
me fresh eggs from her chickens, and they always have faces on them.

She rocks. 

So I made her something to hang on her wall to remember me
among all of her other conquests...

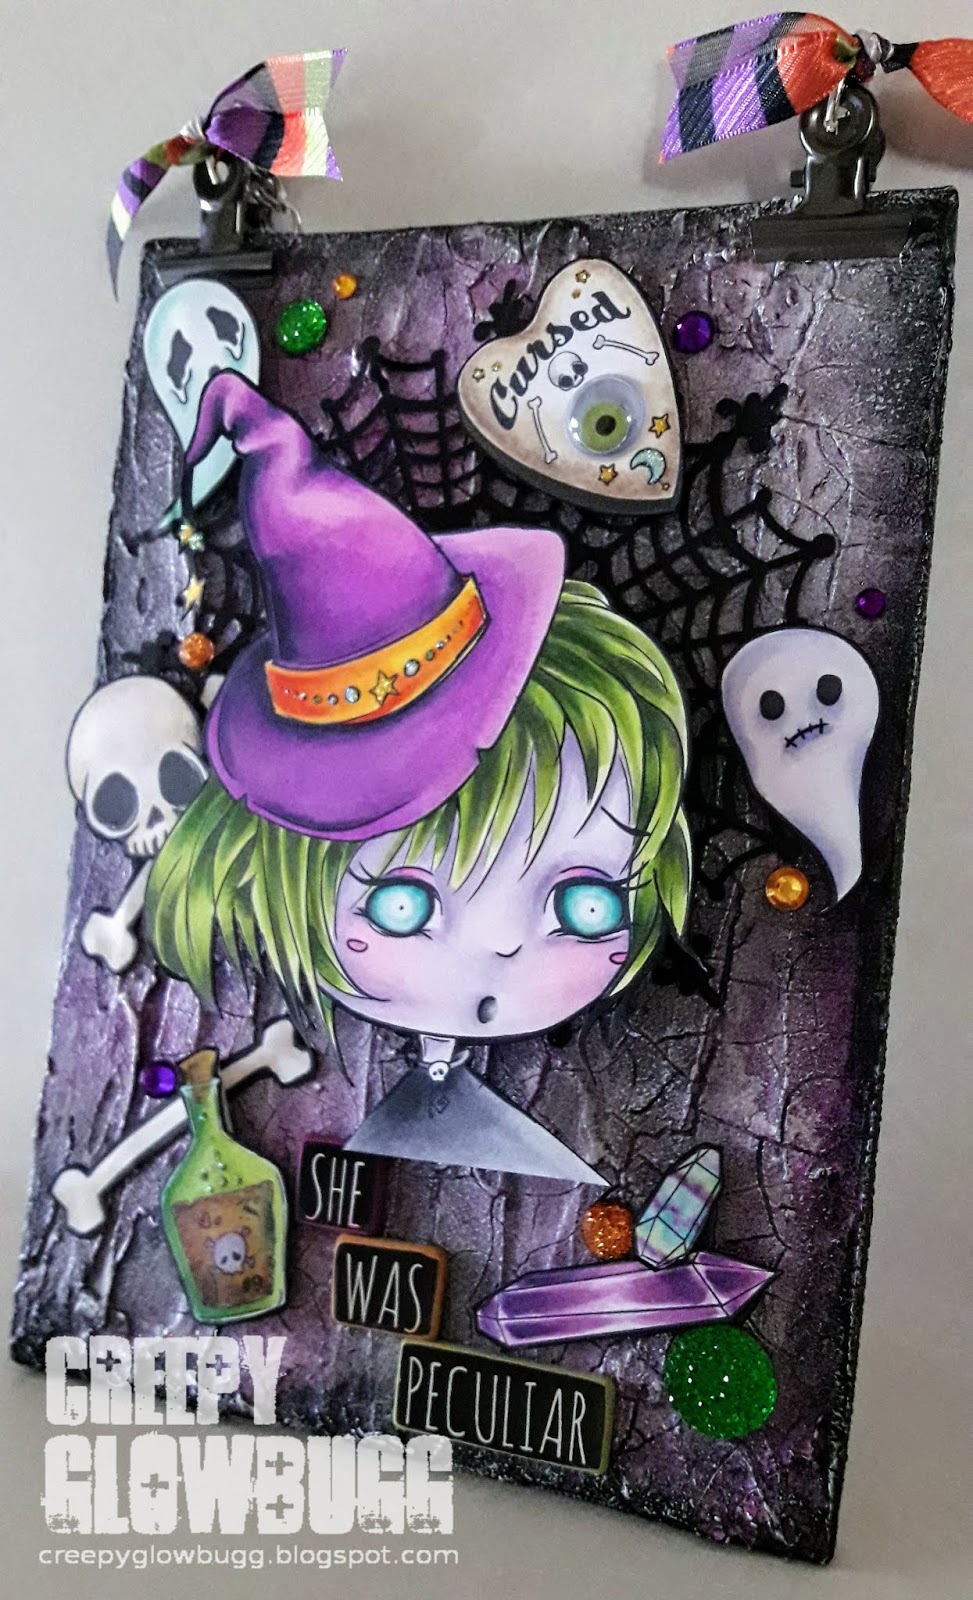
I really wanted to play along in the Stampotique Designer challenge,
to use "attachers" on your project. I knew I wanted to make a mash up
of a Kira critter with Torrente bat wings, so that was the easy part. 
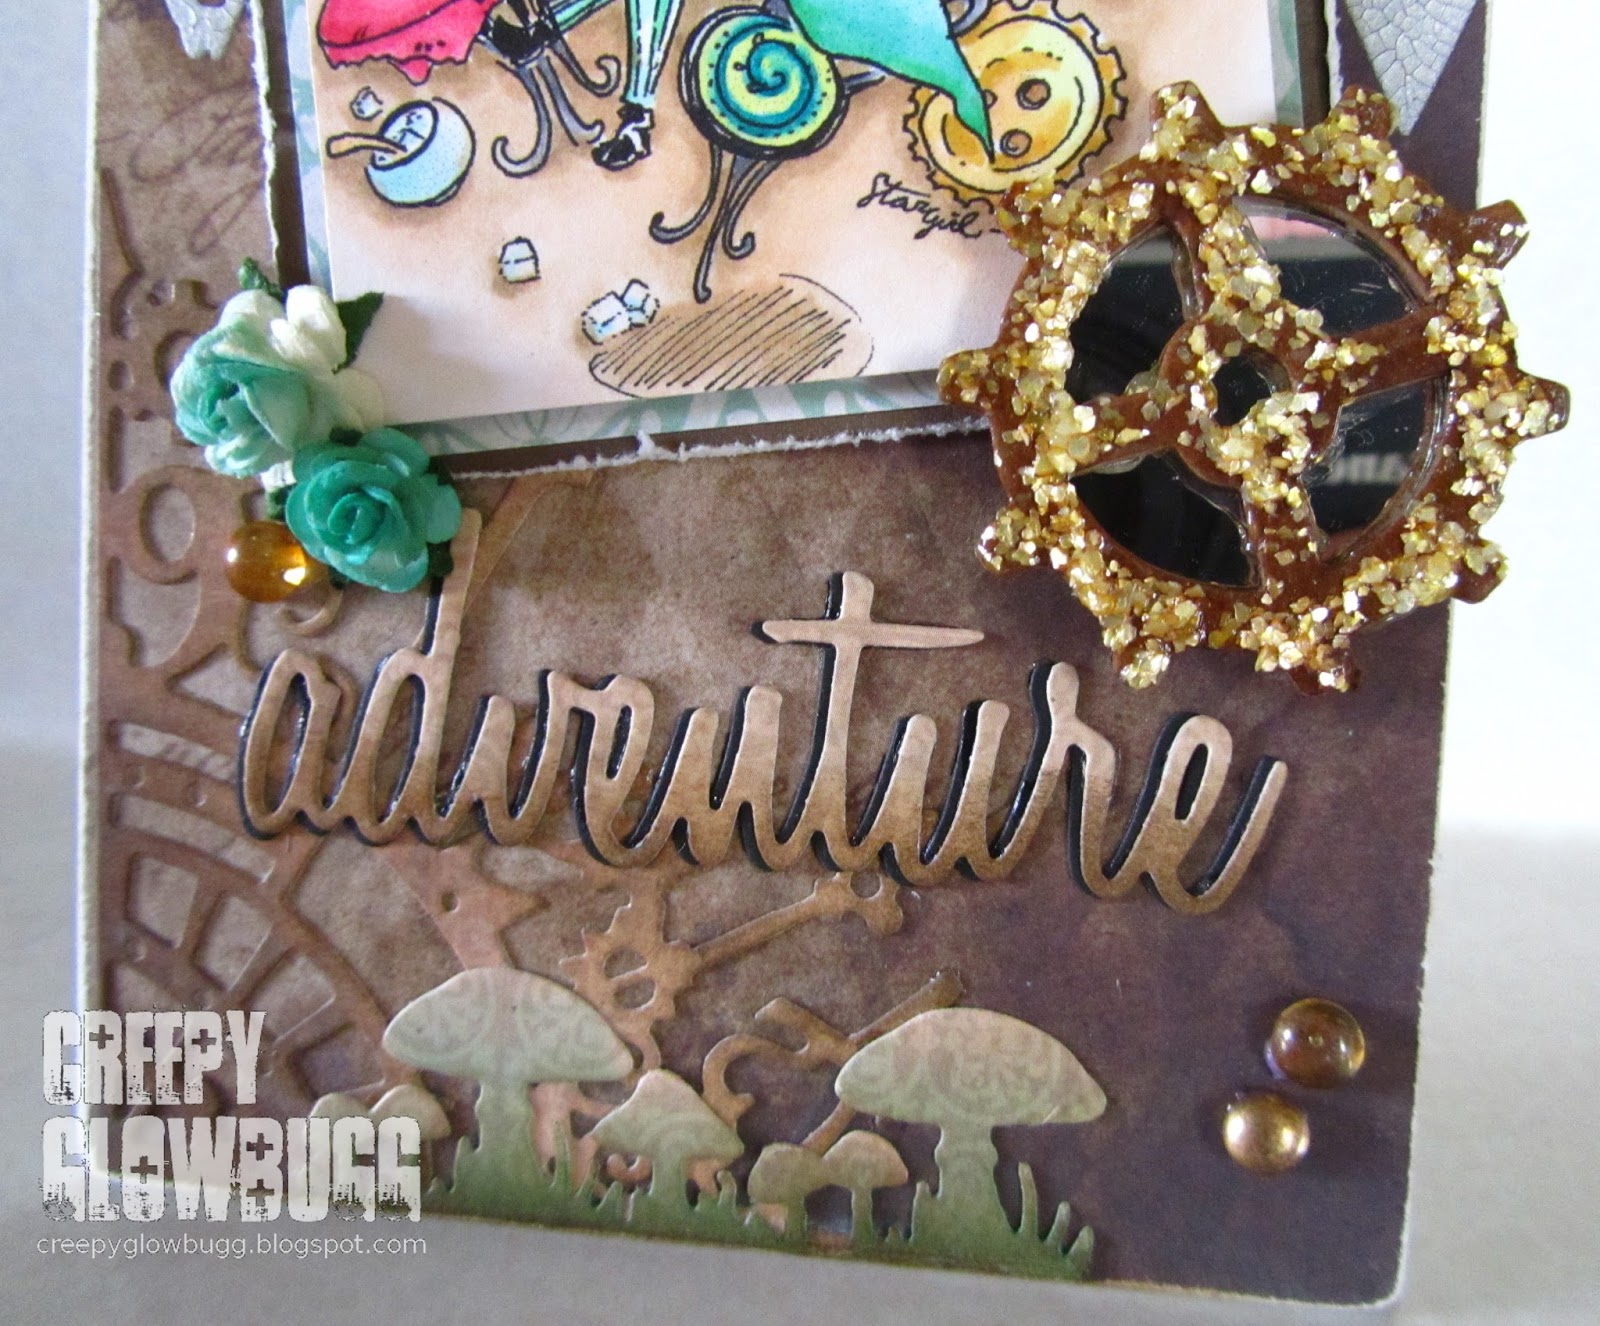
I began with a 4" x 4" gray canvas panel from Mike's. It was 70% off,
so I grabbed a couple. I stenciled some black modeling paste onto
it with the TH Gothic stencil. I used Wisteria and Black Ice Silks
for the background color. I'm still learning how to use these gorgeous
paints. I also used my gel medium for the first time by using it to glue the
black May Arts webbed ribbon down on the bottom. Next time, I'll be sure 
to paint over it so it doesn't show as much. Still learning...     

I made sure his wings were movable. I usually don't make
cool, interactive projects like shaker cards or moving parts,
but this was super simple, and fun. 

I used teeny tiny Tim Holtz brad fasteners to hold the wings onto 
I chopped off his arms and shortened his feet, too. Sorry. But hey,
I did grant him the gift of flight in exchange for his appendages.

I grunged up a TH "'Salvaged" word band, and attached it to eyelets with
more TH doo-hickeys and jump rings. And, I finally managed to part with my 
very first button that my friend, Lynne sent me months/years ago. 
Thanks, Lynne! 

I also used my TH word dies for the first time, too! I cut it out a few times
with black card stock, which I glued together, and then a purple one on top.
I used some UTEE to give it a nice, glossy finish. 
I thought "Authentic" was a good word to describe my dear friend.

And now, Kenzie is really into brain themed schtuff. Go figure. 
I have had this brain charm for months and finally 
figured out just where it belongs.

Oh, and for some fun texture I used my Goosebumps spray, but I didn't
clean out the nozzle the last time I used it (which you MUST do), so
I improvised and spread it out with fingers. It gives a good bat wing texture.   


Thanks for sticking with me through this long winded post.
I had to gush about my friend who inspired this piece.
I hope she loves it.

I'd like to enter this in the following challenges:


Saturday, July 4, 2015

Happy Anniversary Alice!


Today I am celebrating the 150th Anniversary of Alice in Wonderland
by taking part in a celebratory blog hop featuring lots of creative projects 
inspired by this wonderfully strange, and adventurous story.

Not only will you be awed by all of the amazing artwork, 
but you can also win prizes from these generous companies;


Prize winners will be selected from random blogs throughout the hop. 
In order to be eligible for a prize, you must visit all stops on the hop and leave a comment. 
The prize draws will be open until July 18th, with winners announced on July 20th.

Okay, now that all of that is out of the way, I bet you'd
like to check out my Alice in Wonderland inspired project.

I have quite a few Alice in Wonderland stamps and digital images to 
create with, but I was eager to use my newest digital acquisitions
from the very talented, Vera Lane Studios. Actually, the artist is named,
Janet Klein, but she lives on Vera Lane, so hence the business name. 

I recently got some new craft room storage and ended up with a bunch of
dividers that were intended for some of the new drawers. I opted to fill the drawers
without the help of the dividers, but thought that they'd make good wall hangings.
Into the hoarded pile they went! And then I had an idea for some AIW wall art.

I began by painting the panel bright red, and then applied a white
crackle effect over the top. That was way too white, so I toned it down
with a brown acrylic wash. I wiped most of it back, but left enough to give it
a nice, antiqued feel. It is the 150th Anniversary, after all.

I manipulated the Vera Lane images in Gimp, and created the
panel and images to fit my layout and design.

What is Alice in Wonderland without Alice?
Here she is looking a bit disheveled, which is why I love her.
Maybe that tumble down the rabbit hole was a bit more rough than
anyone originally thought. Looks like stitches were necessary. Ouch.
I colored her with Copics, added Glossy Accents to her eyes, and
some Stickles to the bloody bits for a sparkly effect.  

The White Rabbit received the very same treatment as Alice,
but he managed to make it down the hole unscathed. Lucky rabbit.

I adore the Mad Hatter! So fun and silly! I referred to a 
photo of Johnny Depp's Mad Hatter for the color scheme.  

I used the mushroom and the Queen of Hearts here.
I manipulated the mushroom in Gimp to give me a smaller and 
a reversed image mushroom. I colored them both with Copics and
used some Rock Candy Stickles to the spots for a nice sparkle.

I punched holes at the bottom of the panel and added ribbons and charms.
I made the Queen of Hearts charm using a small playing card, Crackle Accents, 
grunge board, and Glossy Accents on the back to seal everything. I added a red beaded
accent to the bottom as well. Super fancy!  


Well, that does it for me.
Enjoy the rest of the hop, and if you are only arriving here
by chance and want to check out the entire hop, the list of
participating blogs is listed below for your convenience.  


Blog Hop List

Saturday, August 16, 2014

Naughty or Nice?

Naughty!
Definitely naughty!
There is a relatively new challenge blog called, Naughty or Nice,
and I have been dying to play along with them.
Their current challenge is Anything Goes, so I had to make sure to 
get in on this one. The main idea of their challenges is to make something 
naughty or nice. I have a ridiculous amount of snarky sentiment stamps,
and don't even get me started on naughty images. 
It's called, Naughty or Nice, not foul and inappropriate. 
But I can do both if need be. 

I decided to create a wall hanging out of 
corrugated cardboard that has been peeled.
I really love the look and texture this creates.

When I decided to do something snarky, I knew I had to reach for my
all time favorite bad girls, Karin and Newt from Stampotique. 
These girls are all attitude and creepiness. Perfection.

I had fun using Pearl Mica Flake medium on the corrugated cardboard.
It added such a lovely sparkle, and another cool texture.
I used a Sizzix die for the frame, and used Platinum Stickles on it for
some highlights and more sparkle.  

I ordered a bunch of metal elements like this piece, and finally worked one
 into one of my projects. I swiped it with some gold rub n' buff to make the
details really pop. I think it adds a nice bit of fanciness here.   

The addition of the gold dew drops is a subtle touch, while reinforcing the 
gold and white color scheme. Also, this is a good picture of that mica flake.
That stuff is so cool! 

This falls under the naughty title. I'm not sure I can even do nice.

Thanks for checking out my schtuff today.

I'd like to enter this in the following challenges: