
This week at HDH we are drawing our inspiration from
melted wax, candles, witches, melted flesh. Any type of
Halloween/Gothic themed melted musings will do just fine.
I opted for a pictorial tutorial of some glue gun candle props.

Step 1:

First step is to gather your materials.
You will need a high temp glue gun and LOTS of glue sticks.
Empty paper towel tubes and/or toilet paper rolls.

While the glue gun was warming up, I ripped the tubes to a desired
shape and height to mimic melted candles.

Once the glue gun is warmed and ready, start covering the tube with glue.
Be very careful not to burn yourself and work over a protected, heat resistant
area.

I will be very honest at this point, and state that each fake candle takes
about 4 or 5 glue sticks EACH, to cover it to this stage. If you like the waxy look
of the glue you may want to keep adding glue until the tube is completely
covered. Once the glue hardens, it appears more opaque and wax-like.
I usually prefer to stop at this stage.
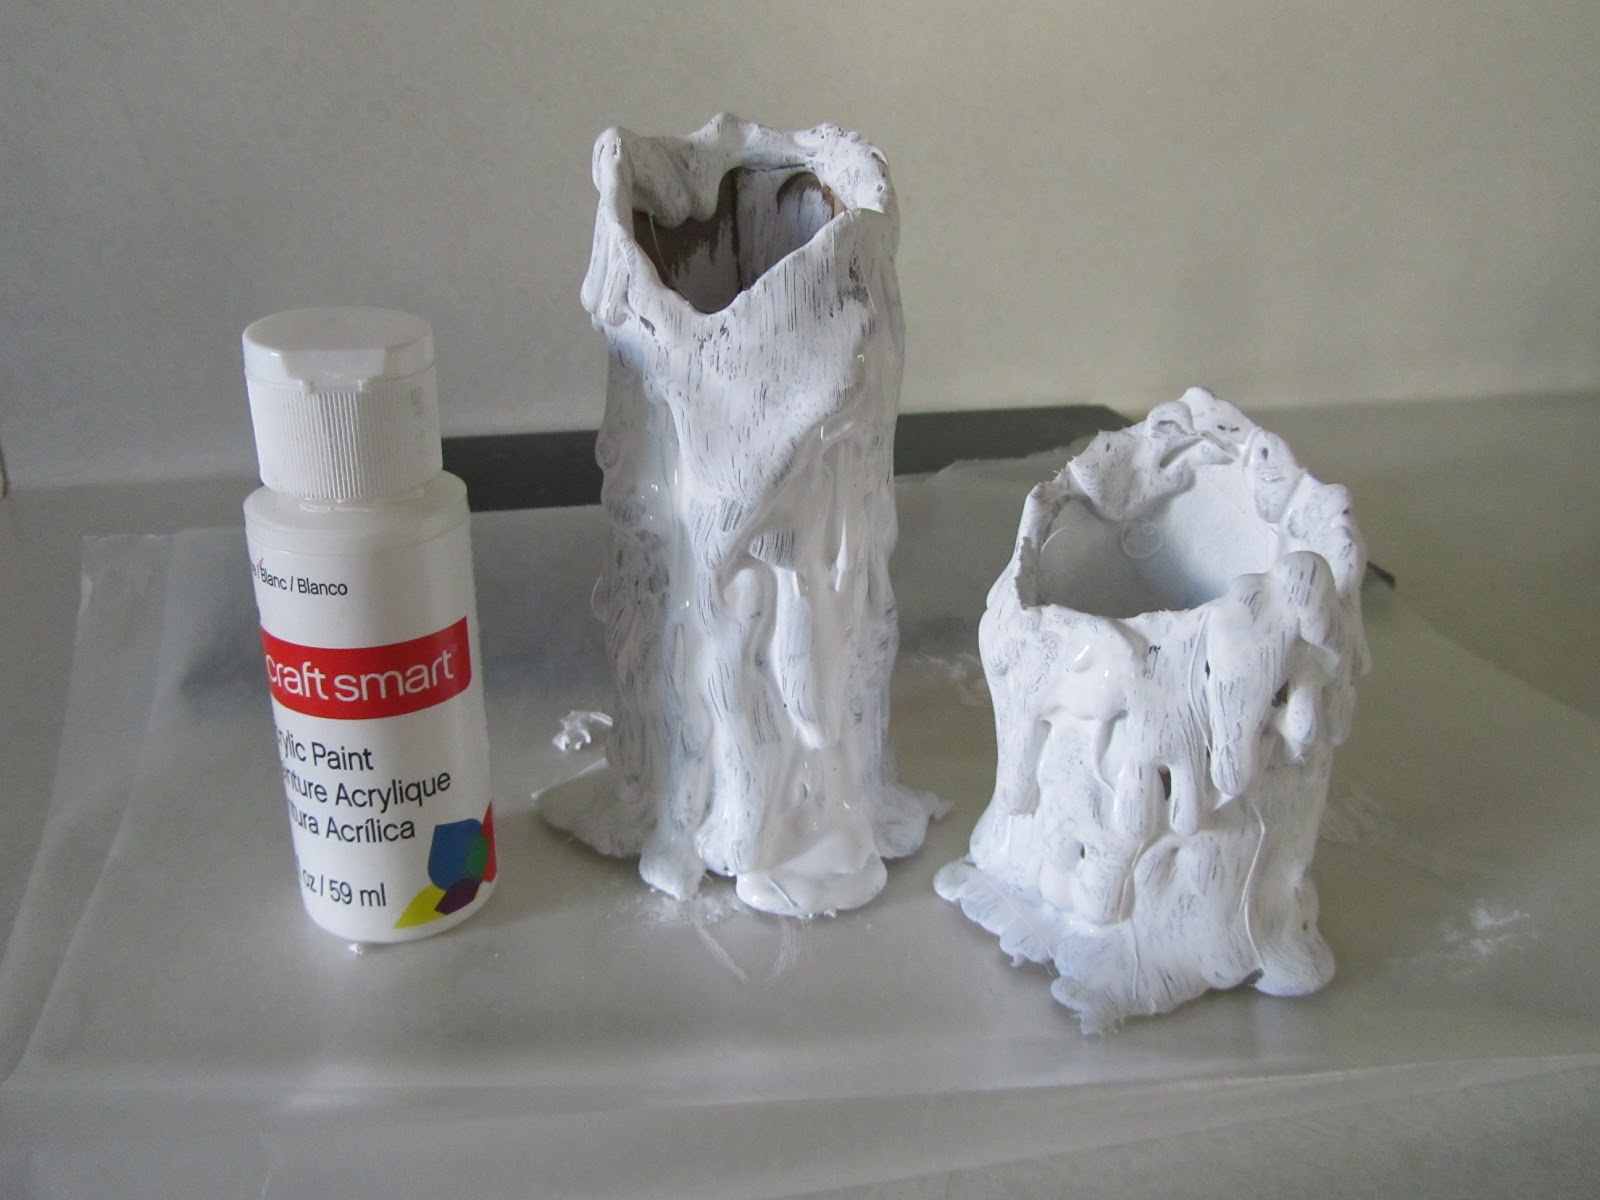
Since I am running a bit low on glue sticks, I decided to take the next step and
paint each candle with white acrylic paint. The first time I saw this craft, it included
this step, but I haven't gone this far before. I'm figuring it just needs a base coat.
Be sure to paint the inside of the tube as well.

After a single base coat of white, I then add multiple coats of fluorescent
green and yellow acrylic paint. My son walks in and says, "Ya know when you go to those run down carnivals and you go on the Haunted House ride? Your candles look
like the hokey black light stuff they have in there".

Thank you!! That is EXACTLY the look I was going for!!
Perfectly heinous, low budget, haunted house props!!!
Oh, and I slathered on a healthy dose of glow in the dark paint too!!
I found my real fake tealights (not those weak ass Hello Kitty ones)
and they work excellent!!
I am quite pleased with my melted musings this week.
Drop by HDH and check out what else the Minions conjured up
for this week's challenge.
Nice work!
ReplyDeleteCheers!
WOWsers Glow I just LURVE these - guess I'll be putting glue stix on my shopping list - LOL. Thanx so much for all the helpful hints!
ReplyDeletexXx
Wow! These freakishly AWESOME! I will definately trying this technique out in the future!!!
ReplyDeleteCarol (Carol's Creations)
4evercarolscreations.blogspot.com
OOOh, how cool! I'm telling you, I was this close to doing the same thing (there's a TP roll sitting on my desk right here) but I'm glad I didn't because yours are da BOMB! Youve taken it to a whole new level with the glow in the dark paint there, Glo. Fabulous! xxD
ReplyDeleteThese are absolutely fantastic. I so have to try these out. Love them. I will defo have to get some glow in the dark paint. xx
ReplyDeleteGlo, this is freaking fabulous. LOVE it!!!!!
ReplyDeleteAwesome. How totally cool. Great walk through and the end result is brilliant. I live the way they look. Will store this technique in the ol grey matter ;-).
ReplyDeleteThese are so fabulous...definately a project I want to try.
ReplyDeleteCarol (Carol's Creations)
4evercarolscreations.blogspot.com
These are frickin awesome, Glo! Thanks for the tut!
ReplyDeleteLove them - going to have to make 1 or 2 now to try it out. Thanks for the tut xxx
ReplyDeleteJust cool as all get out!!
ReplyDeleteFabulous project. Thank you for sharing it with us :)
ReplyDeleteThis is so amazing Glo, I love it. I so want to try this out now!! (If/when I do I will link back here for the idea.) You are truly talented my dear!! And thank you so much for sharing this!
ReplyDeletePeace,
KristyLee