Showing posts with label Rick St. Dennis. Show all posts

Tuesday, October 28, 2014

The Inevitable Walking Dead Homage Day 28

Wow, we are really getting down to the wire here, aren't we?  
Just a few more days and we can take a collective sigh, pour a cup
of whatever makes you warm and toasty inside, and start planning
for next year. No rest for the wicked.

When I first considered entering these hops I thought I'd share my
extensive black t-shirt collection. Like one new shirt a day for 31 days.
I probably could do it for 60 days, but some shirts are navy....
Since I was impaired right from the start, that never happened.
So I figure, why not show some now anyway?
This is today's shirt. It's by Ben Von Strawn. Great retro monster artist.

Speaking of great artists, here's another Rick St. Dennis image, 
called, 'Zombie Time' and is sold exclusively through 

In honor of the last Walking Dead episode, I shall call him,
"Bob", a.k.a. 'Tainted Meat'.

Great rubber stamp I ordered from Viva Las Vegas Stamps. 

This is also my card for the final challenge of the year over at 
The theme is Hellacious Hallowe'en - No cute stuff!
I think this will work.

Thanks for sticking with me on this Halloween inspired voyage.

I never remembered to draw the names for the giveaways, 
but I will do it tomorrow. Sorry, I'm just too tired this evening.      


Sunday, October 26, 2014

Sexy Winged Beast Day 26

I must say that I have enjoyed better Octobers.
This has been a rough one. And by the time it's over
I'll be ready to enjoy it. That's why all the decorations
will be out until Thanksgiving. Well, there are a good amount
that stay out all year long, but you get the idea.

Check out this schmexy chick from Rick St. Dennis.
Her name is 'Batty Bettina'. Pretty cute, huh?
I colored in non-traditional Halloween colors for a change.
I was beginning to bore myself with the same old lime green,
orange, and purple color schemes. It was difficult to find papers
that looked okay, though....

I am almost completely done with this Halloween themed album.
Three more pages, and the covers, and I am done. Finally.
It has been fun though. I have no idea what I'm going to do with
it once I'm done, but I'll figure something out. 


Thanks for sticking with me so far. 
Not much longer now, and we can get back to our
regularly scheduled lives.  

Be sure to check out these month
long blog hops going on right now!


PARVO UPDATE:
Both the girls are on the mend!! Foxxi is doing very well. We are so
proud of her progress. She even felt well enough to model her fall sweaters 
for us yesterday. Gabbi is eating solid foods, and is happy she doesn't need a 
sweater. I think we're going to be okay. Can I cry now? What a week.....  


Friday, October 17, 2014

The Elusive Halloween Spider Day 17

Looks like I've gotten my second wind, and none too soon.
Here we are at Day 17 of the 31 Days of Halloween and the
Countdown to Halloween already. Time sure flies when you
have to wait all year for the best holiday ever.
Every year it seems to sneak up on me earlier and earlier.

I have yet another fabulous paper bag album page for your
viewing pleasure.

This time I give you the elusive Halloween Spider.
She only comes out of hiding four to five weeks each year,
and it's exclusive to October.
This is the insert for the actual album page. I have used the 
Rick St. Dennis skulls rubber stamp from the Morte set,
available only through the rubber club at Smeared Ink. 
I colored the background image with Distress Inks and splattered 
some inks in white and black to break it up a bit.
The star of the show is the tarantula digi image from Smeared Ink. 
She's all dolled up with Copics.

Here's the album page with the pocket on the left.
I used coordinating papers from an old paper pad from
Recollections (maybe?). I used an EK spider web punch, and
bridged the gap between the papers with a glittery spider tape,
definitely from Recollections.     

This is the insert peeking out from the pocket.
Isn't she beautiful? I am rather fond of how she turned out.
And is there any doubt it's a girl with that glorious coloring?

Insert all tucked away safely inside the pocket the end flap
of the paper bag provides. Just a bit of glue on the top and
bottom to seal it off and complete the pocket.

I think I spent most of my time searching for just the
right label. I think I found it.

Thanks for stopping by today.
Have you entered my giveaway found here?
You have until the 25th to sign up.

Friday, October 10, 2014

I think I'm dying... Day 10

Well, seasonal allergies have officially screwed with my mojo.
I feel like my head is going to explode, but it won't.
Even though I wish it would to relieve some of this pressure.

Here is another quickie from me today for the 
The links for both hops are in my sidebar for your hopping pleasure.

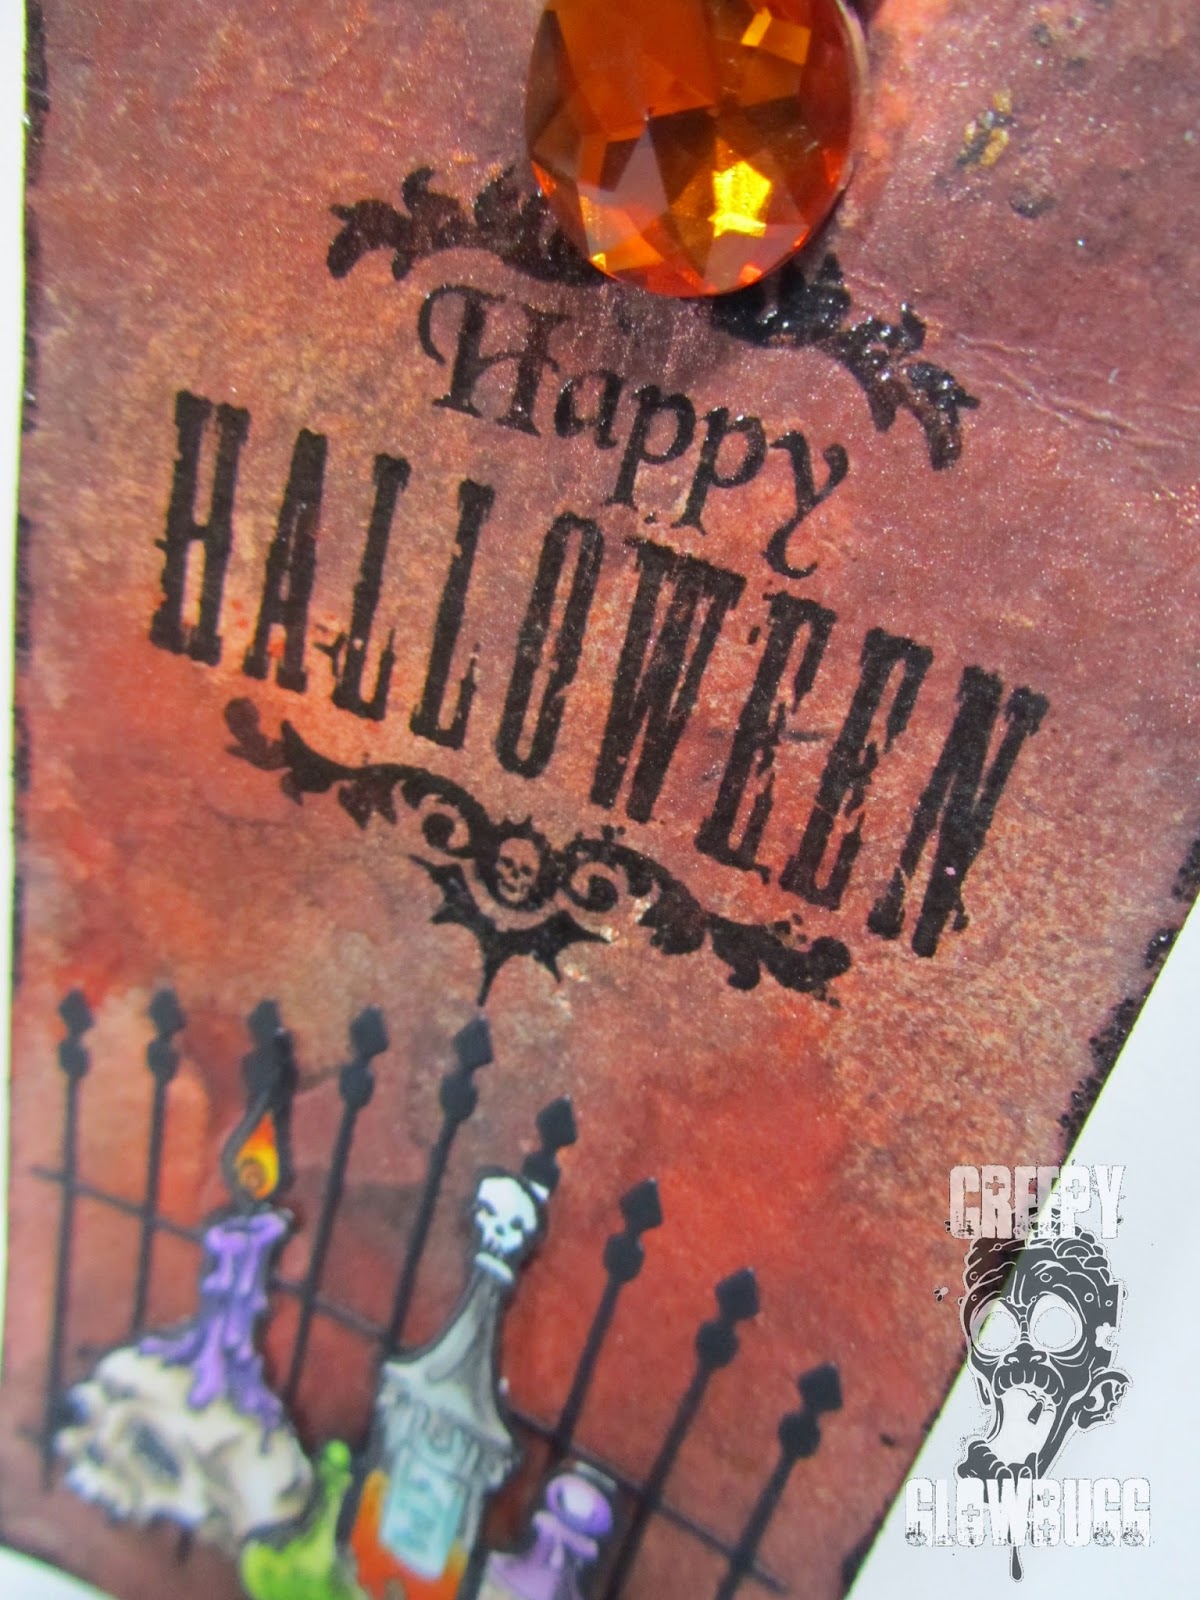
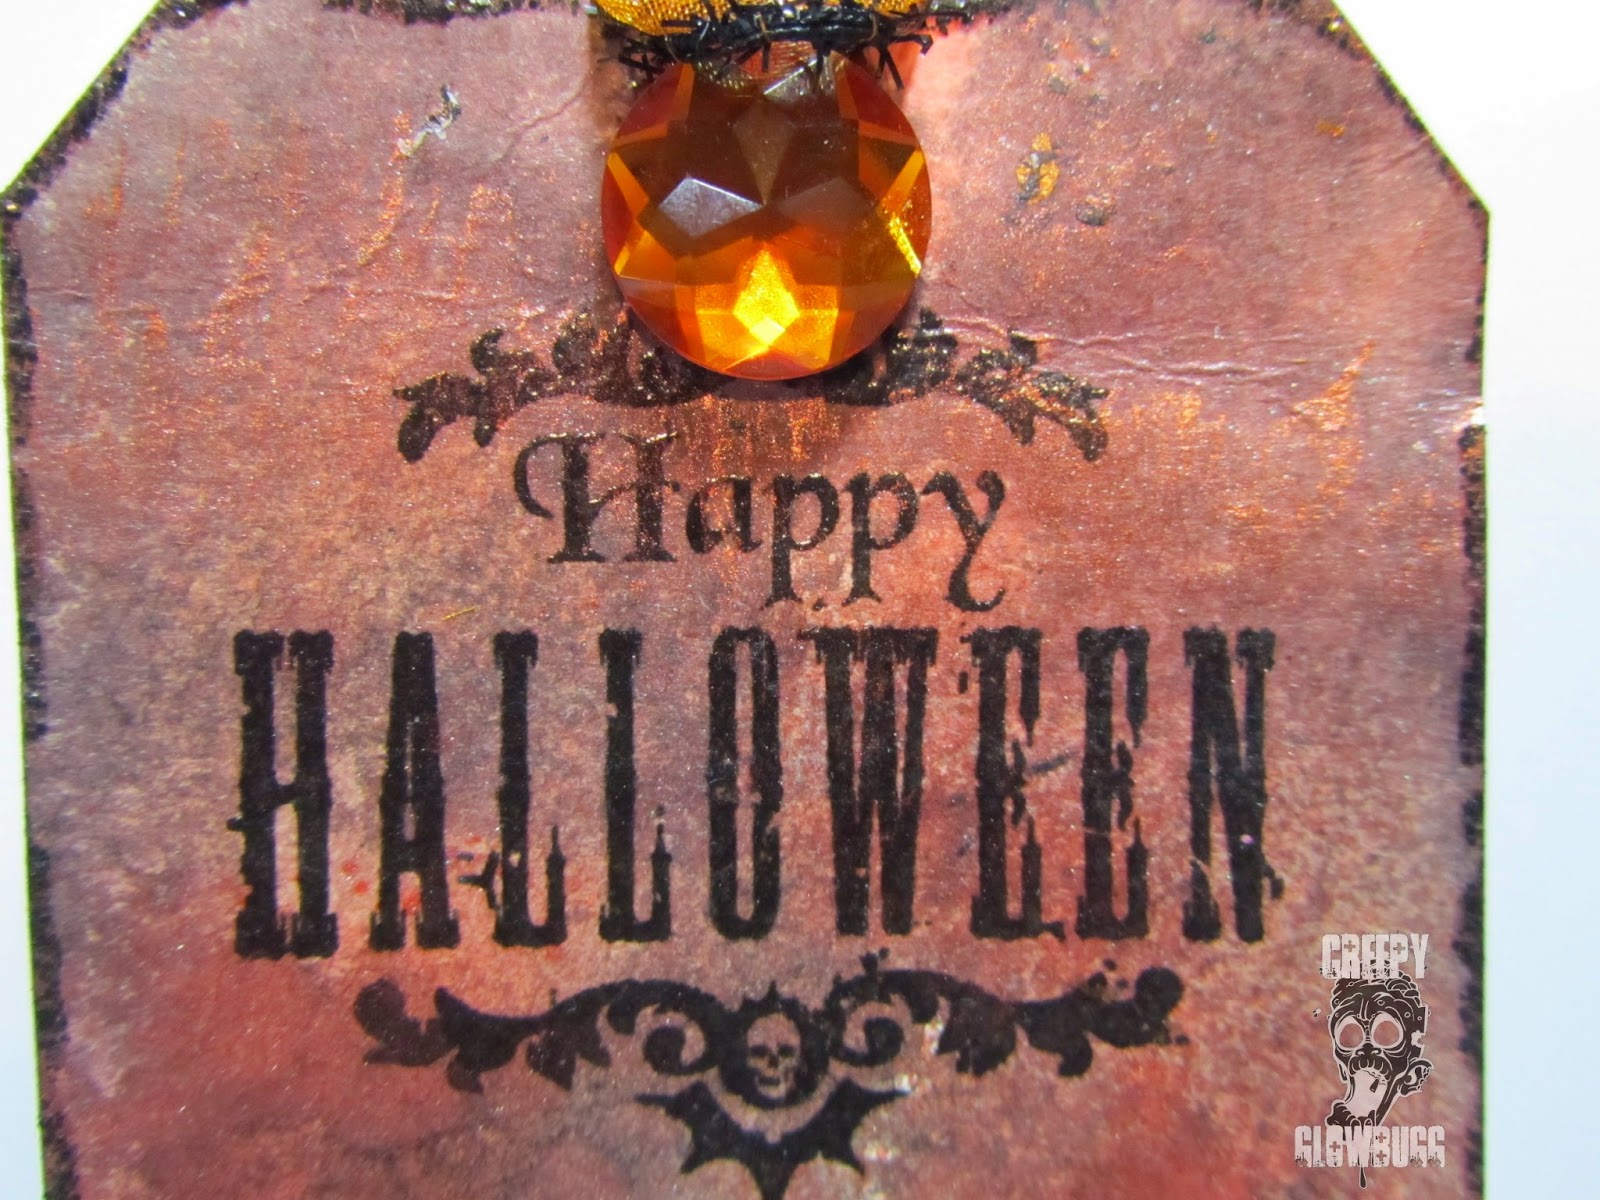
I made a tag today. Thought I'd try to keep it pretty simple
with my head all jacked up on cold/allergy meds.

I started with a standard manilla tag and 
used spray inks for the background.

Being that it's Friday, I wanted to spotlight a Smeared Ink image.
This is a Rick St. Dennis design which is currently available in rubber
only at Smeared Ink. See details here to get your very own 'Morte' set. 

Heat embossed sentiment from Inkadinkado.
Large orange faceted brad for some bling. 

Another nice shot of the metallic shine on the tag.
Also used some TH tinsel ribbon and a favorite ribbon from Mike's.
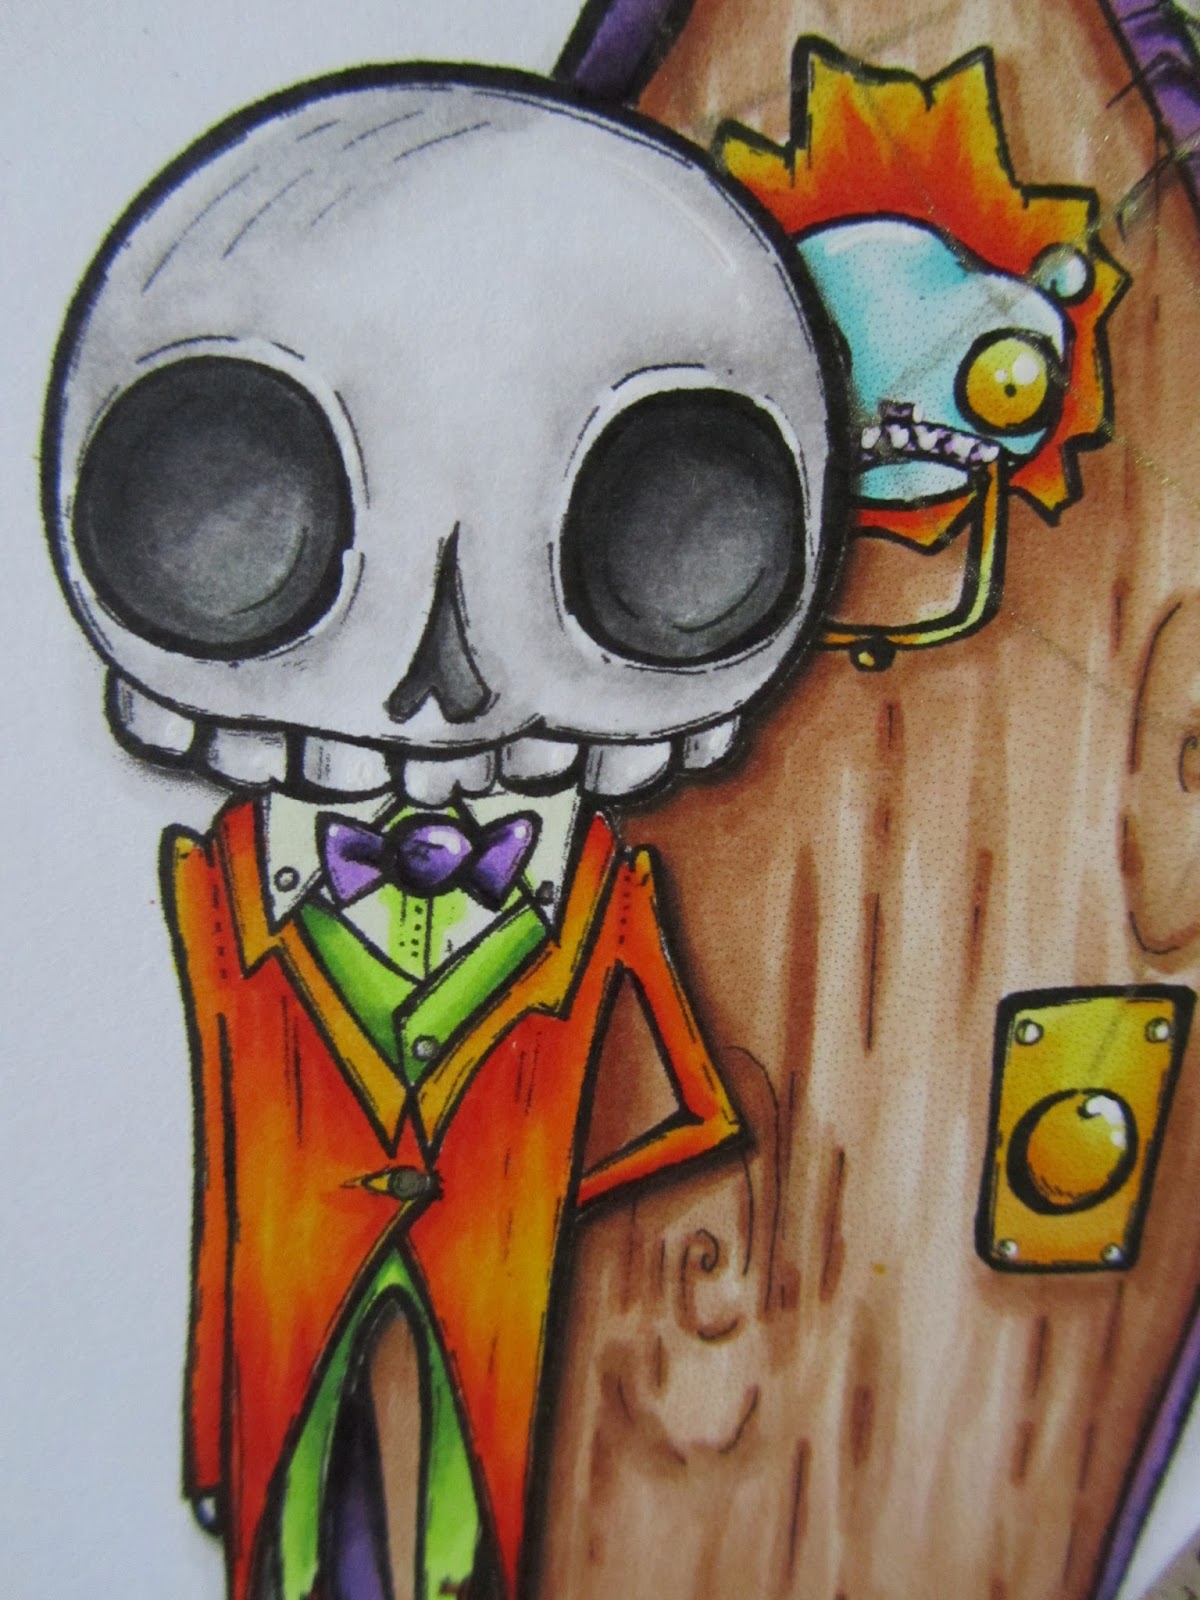
This is actually two separate images from the 'Morte' set, colored and layered
onto the die cut ornamental gate from Cheery Lynn and the tag.  
I'll probably pop this into that paperbag album at a later time.
Right now, I'm going back to bed.  

See ya tomorrow. I hope....

I'd like to enter this tag in the current challenge at
Cheery Lynn Designs Blog - Halloween

Thursday, October 2, 2014

Bring on day two

So this is fun, right?
So many awesome bloggers and crafters all gearing up for the
most important (to most of us, anyway) holiday of the season.
I plan to make my rounds this weekend, and what a fantastical voyage
that will be.

If you have no idea what I'm yammering on about, this is day 2 of the
One is a blog hop for Halloween lovers of all walks of life, and
the other is a crafty celebration of the dark crafter's version of the
Christmas advent calendar. Something like that anyway. The only
thing you need to know is that people are posting great Halloween 
themed content on their blogs daily. What else is there? 
The links are contained in my sidebar for both hops. Please check
them all out and leave some feedback so everyone knows you stopped by.

I bought a lollipop today. Not your average lolli, but one that looks 
very similar to the one that Sam from Trick R' Treat totes around.
I bought it from a cool dude named, 
I don't have permission to use the photos of the actual sucker (it's really resin), 
but check out the shop and see them for yourselves. They are pretty awesome. 
I can't wait to get mine, and I'll be sure to share it with you when I do.

I can show you this fun little card I made  though.
I'm sure we all have a list started, don't we? I have a notebook 
full of names, but who's counting?   

This fun image is from Rick St. Dennis called, 'Black Widow', 
and the witty sentiment is from Ginger's House.

And as promised, I am sharing some of my new
Halloween decorations for 2014. 

I love shopping for Halloween schtuff at Home Goods. 
Not only do they carry my favorite scent of candle (Yankee Candle
Witches Brew), but they have some of the coolest decorations and 
chachkies around.   

C'mon, how cool is this snow globe?
  
What do you call a snow globe with bats and black snow?   

I know this thing looks like it fell off the Avenge Sevenfold tour bus, 
it is pretty darn cool. And shiny. 

  I really like the attention shown to the 
candle cups. I have some nice purple drip candles that
will look very cool in this candelabra. 

That's it for me for today. Thanks for stopping by.
See ya tomorrow with more cool Halloween show and tell schtuff.  


Saturday, February 1, 2014

Kick Start Your Art Day 5

The week long art journal challenge at 
is almost over, and I'm going to miss the daily process.
I'd like to think I can keep it up on my own, but the reality is that
I probably won't. Hopefully, I can keep up on my blogging at least.

Today's prompt for Day 5 is
SCRAP BACKGROUND.
Use up some of my scraps you say? Sounds like a plan!

I started off by choosing various scraps of paper and some washi tape.
I glued everything down and then proceeded to jack it up with a bunch
of black gesso and TH crackle paints. I really thought I had ruined the entire
page. Not a happy camper at this point, but I kept on adding schtuff until it
started to look right again. 

I added some MS bat fence border, and a Spellbinders die cut.
That gave me a chance to cover up the offending blotches and have a base
for my central pieces to rest on.  

I paired a headstone from Rick St. Dennis, with a cute
Mini Morticia from Make it Crafty. Popped them up on 
dimensional foam for a bit of layering and interest.

A close-up of what I had hoped all of the crackle would look like.
Not the case, so I covered a bunch of it up with MS paper tape.

I got lucky and managed to salvage this train wreck before it ran completely
off the rails. I am rather pleased with how it turned out in the end.

See you tomorrow for Day 6!!


Monday, September 9, 2013

Gloomsville, man! Gloomsville.

The calendar tells me it's September, but the weather
says, "It's still summer!" It's supposed to be over 100 degrees today,
which means it's a good day to watch paint dry. 
I'm working on some new projects for my Etsy shop. 
Think Haunted Houses.  

Speaking of Haunted (Design) Houses, it's the 
beginning of the second week for our,
"Hallowe'en in your face!" 
challenge sponsored by The Octopode Factory.

I made a new addition to my Hallowe'en themed, paper bag book.
This is the cover. I still need to add all of the ribbons to the
binding side, but I'll wait until the book is complete first.

I have a bunch of charms. I rarely remember to use them though.
This time I used three in one shot. I popped some Firefly Stickles into the
eyes of the skeleton key for a nice, eerie glow. I love the newer neon Stickles! 

I made a little scene of sorts using the new Gloomsville spider and web,
along with the Terrence and the door from The Octopode Factory.
I'm finally starting to get the hang of using Gimp.

One of the cool things about these paper bag books is that they have
pockets for inserts. I made this one using the tab punch from Stampin' Up
and a spider brad with a purple rhinestone on it. Oh, and some fancy
coordinating ribbons, too. It just kind of screams, "Pull me!", doesn't it?

Not quite sure what I will be doing on the insert, but it looks pretty 
cool so far. 

A quick shot of the spider webbing I extended out from the
original image, using a Stardust Gellyroll pen. I just eyeballed it.
I wanted it to look like the spider had webbed over the door.

I don't think Terrence gets many visitors....

Stop by HDH and see what the Minions have made for this
fun and easy challenge. We are offering a $10 gift cert to 
The Octopode Factory to one lucky winner!!!

And I totally forgot to post this on Saturday, but the current challenge
over at Wicked Wednesday ATC is to celebrate our 
100th challenge!
We have multiple sponsors as well. Lots of goodies to be won if you play 
along and help us celebrate this milestone.

Don't these guys look like they're having a party?
Or maybe they're crashing one?

This is another of my favorite images from
Rick St. Dennis. I'm not sure it's available anymore,
but he has a TON of awesome images to choose from!!   

Thursday, August 8, 2013

Coloring Desdemona's Eyes and Makeup Tutorial

Due to the coming Autumn season, I have chosen to step down from the RSD EDT
to get all of my ghosties and punkins in a row. This is my busiest time of year,
both creatively and personally, so I had to cut back a tad on my DT commitments.
I look forward to possibly doing a guest DT spot for RSD, sometime in the future.

   I'd like to end my EDT membership by wrapping up on my coloring tutorial
for the beautiful RSD June freebie image, Desdemona.
In my previous tutorial here, I showed the versatility of skin tones,
and how they can completely transform an image.
Now I am going to show you how I color hair, makeup and eyes.
I have no formal or certified training with Copics. I just like to color.

I start out by using my darkest color, E09.
I try to fill in the darkest shadows of her hair.
I look for the inside of curls or the place where her hair comes
out from behind or under another layer of hair.

Next is YR09. I use it for her next medium shade.
I basically just follow the shadows and keep pulling color out
from the last color used. 

Next is YR07. I just keep pulling the colors into the light.

YR04 for the lightest orange shade. 

Not sure why my scanner went so light, but I have added Y35 and Y38
for my lightest golden tones and highlights. 

Here she is with her eyes, flesh, and make up colored.  

And now for the eyes and make up.....  
I began with B04 for the darkest shadow of her iris. Her eyelid will cast the darkest
shadow at the top of her eye.

Next, I added B02.

And now, B01.

Lastly, I use B000 to blend all of the Blue shades together. 

I wanted a little more contrast, so I added B06 to darken up her
iris a bit more at the darkest point. 

Lastly, I used B66, B63, and B60 for her eye make up and lip color.
I also use the lightest skin tone (this one is E30) to blend it all out and make it
appear sorta natural despite the unnatural color choices.

Here are some other color samples using the very same techniques each time.
I used YRs for the purple version, RVs for the green gal, and BGs for the red chick. 
I am loving how the purple skinned chick came out.
Must be the Hallowe'en colors....

I used YG and V for the pink flesh tone, and V and RV for the blue/green flesh tone.

Well, that's gonna do it for me today. I will miss working with the entire RSD 
family, but I'll be stalking all of them on their blogs and facebook pages.