Friday, October 30, 2015

Black and White Horror Show

Here it is the day before Halloween and I was finally able to
complete my project for the final Haunted Design House theme,
and the October 12 Tags of 2015, for Tim Holtz.

Now, I pre-ordered this awesome die set back in August. Pretty much the
very second I saw it. I mean, c'mon! It's a Zombie! 
And I loves me some undead corpses. 

BTW. I ordered this die set from The Funkie Junkie Boutique.
They are offering this die, and many others at half the price of
most every other retailer I have seen. They have the best every day 
prices for all of your funkie and junkie makes. Just so ya know.   

Zombies are my all time favorite monsters. 
After The Creature and Frankenstein's Monster, mind you. 
I am a bit of a purist, so the classic monsters do come first. 
But I have loved Zombies since I saw "Night of the Living Dead".
Well, actually my love really started with "TarMan", from "Return of the Living Dead".
He was the coolest, and still is the coolest on screen Zombie ever.

And then it seemed only fitting to really familiarize myself with the 
original "Night of the Living Dead". And that is where I got my inspiration
for this tag.   

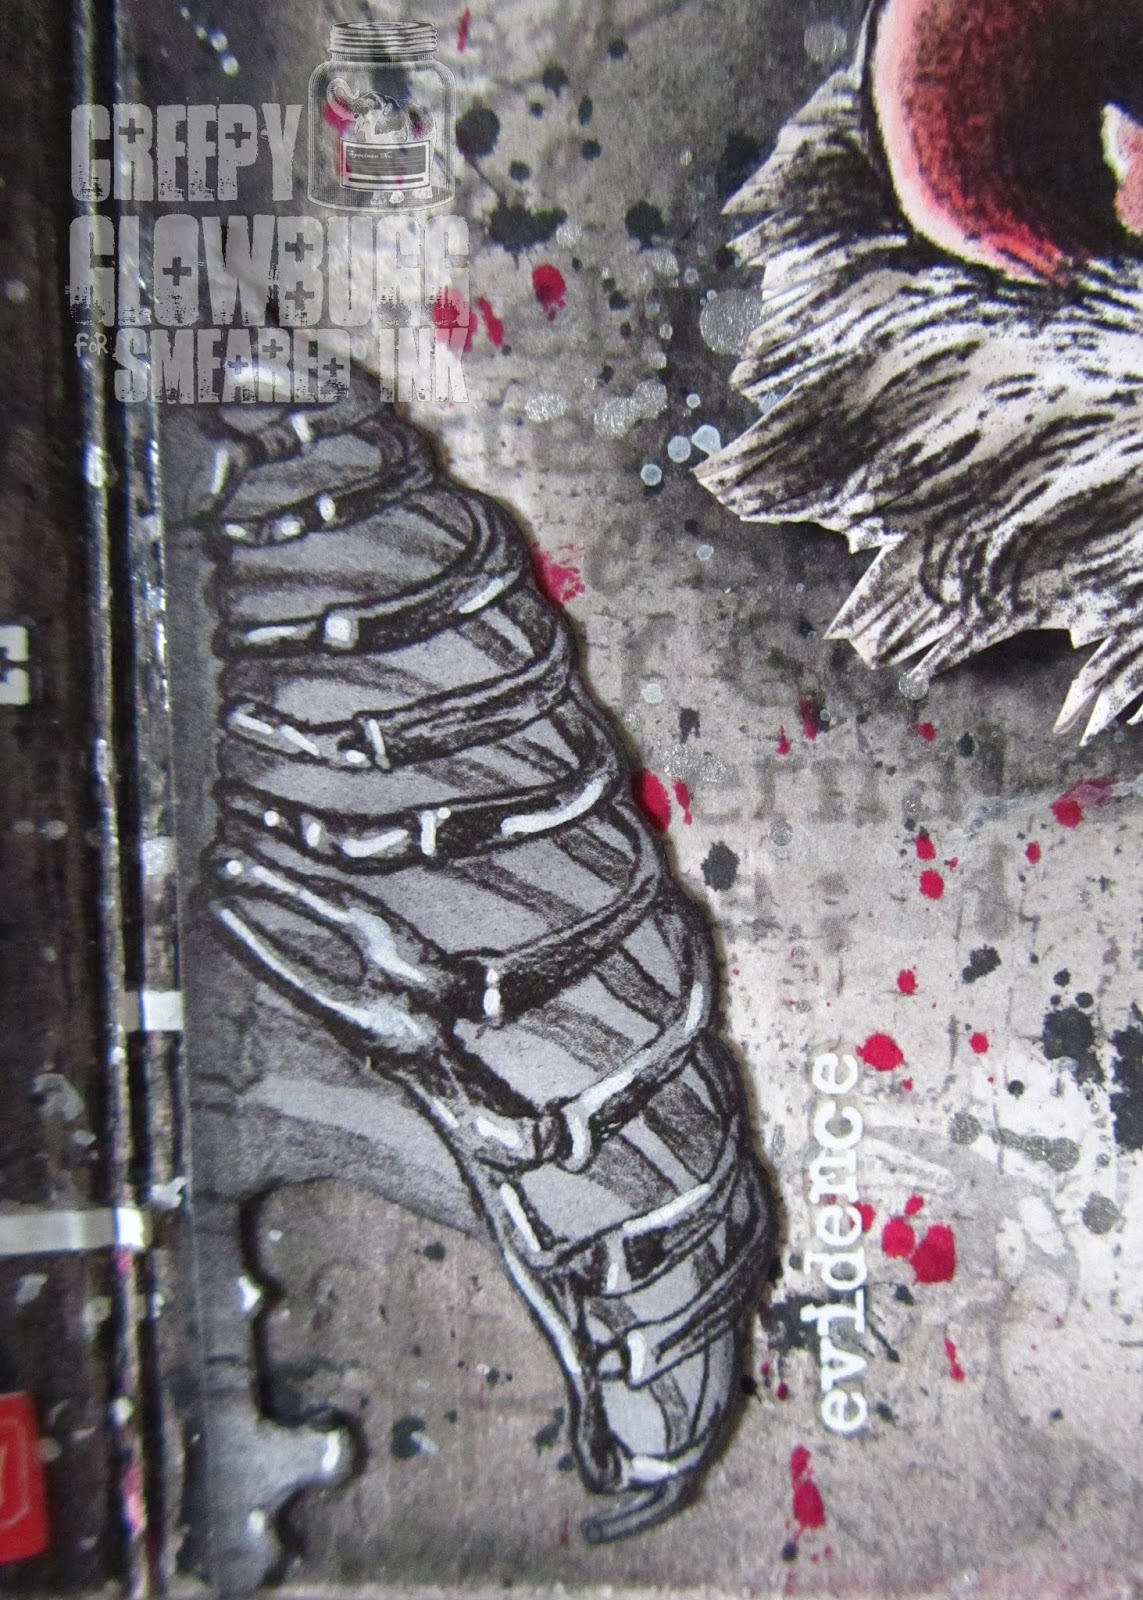
My usual Zombie color of choice is green, but I wanted to make
this guy really stand out without the use of bright colors.
I thought an old black and white, silver screen zombie was fitting. 
I began by die cutting various shades of gray and black card stock.
I inked the edges using Black Soot and Hickory Smoke distress inks
to give some shading on all of the pieces.     

After adhering the designer paper to a tag, I speckled it with silver, black 
and white distress stains. I also sanded the edges of the tag, too.
Then, I added the number 31 enameled tag after giving it some Brushed Pewter
and black distress paints. I even got to use my TH distress hammer on the brads.
I love the aged effect on this tag.

I tried to keep this guy as dimensional as I could.

So cool to have dimension like this. The key really is to use a wet glue,
as opposed to a tape runner or other dry adhesive.  

I added some stained seam binding and silver tinsel twine
to keep in the black and white theme.
I also used one of my coveted "Zombie" charms.
I have a few different design charms, but felt this one worked the best.
And I still have another one of these in my stash.         

As cool as everything on this tag was turning out, I felt he needed something 
else to make him really creepy. Drippy goo! No real zombie would be seen
shambling along with a clean mouth and chin! I added some black goo to his
mouth and covered it in Glossy Accents to really make it look awful.
Something really disturbing about that dark black drool coming out of him.
I love it!! 

 I am so happy with how this tag tuned out.
I am thinking of making a canvas out of him in the 
very near future. I'll be pumping out Halloween projects
until Thanksgiving (and beyond) so stay tuned.

I'd like to enter this tag in the following challenges:


Saturday, October 24, 2015

Vibrant Day of the Dead

Do you ever complete a project and look at it,
and instantly fall in love with your own work?
It doesn't happen to me that often, but when it does, it's so nice.

The new month long challenge at Aurora Wings Challenge blog is
Day of the Dead.

I knew pretty much immediately what image I wanted to use
and got her all colored up with my favorite medium, Copics.
Day of the Dead Marie is one of my favorite Aurora Wings images.
Then, as has become my apparent Halloween tradition, I came 
down with a terrible bugg of some sort, and was completely out 
of commission for a week. Never got to get her finished, but was trying
despite my ailments, to work on a project fitting of this gorgeous image.

I love making cards, but this lady deserved something a bit more 
permanent than a greeting card, so I made her into a 5" X 7" panel
fit for framing.

I began with a flat canvas panel I picked up in a 10 pack at Ross.
I find some really cool craft supplies at Ross and TJ Maxx sometimes.
Who knew? Now we all do.
I gessoed, and then painted the panel with magenta acrylic paint.
Then I added some black paint to the edges to grunge it up a bit.

I mounted some black cheesecloth to the panel to serve as my background.
I was going to use some gray flocked baroque patterned acetate, but it
just wasn't working well with the magenta. And I really tried to force the
use of that acetate, but no dice. I like the cheesecloth better, anyway.

I glued on some lush black lace and trim to give everything a fancy flair.
I envisioned the rest of her dress as being quite ornate with lace and trims.

After adhering the image panel, I started the time consuming
(for me, anyway) process of adding embellishments.

I decided on the neon green rose to match her eyes, and then
a feather, some pearl fancies, mini roses, and a cool spider
to finish it all off.

I must say that I am pretty chuffed as to how this turned out.
I wasn't so sure it was ever going to be done, but now that it is
I will be searching for the perfect frame to display her properly.

Thanks for stopping by today.
Be sure to check out all the inspiring projects on the challenge blog, too.
The DT really went all out this month. Tons of gorgeous eye candy to be seen.

I'd love to show her off in the following challenges:
Brights all the way! I love vibrant, saturated colors!! 


Sunday, October 18, 2015

Less of a hop, more of a shamble

I am kind of super excited to share today's post with you!
Ya see, I have this friend named, Jessa, and she has a blog called,
Not only does Jessa make the most amazing CAS cards, but she
is also quite the talented artist. She draws the cutest critters and monsters.
And she gives them away for FREE!! Yes, all of her images are freebies.
She's cool like that. Reeeeally cool, right?


Today Jessa is releasing some new Halloween Edition images,
and has asked a few of us to shamble along with her and show off our
sample projects.  

The is Igor Van Gore.
I don't think he has any idea how cute he really is.
Did I forget to mention that not only does Jessa give away her images,
she usually includes various sentiments, too? Igor comes with a blank board 
so you can add any message you want for any occasion. 
The one I used comes with Igor. And it's pretty much how I feel every year.  

This guy's name is Happy, the Narwhal.
Now this giddy fellow isn't actually part of the new release, but I did
gussy him up a bit using the bat with nail accessory that comes with 
the new Zombie Cookie Jar set. 
The sentiment is from the original Cookie Jar, the Unicorn set. 
All of which are available at Useless Trinkets. Right now.
But don't run off just yet...

And then we have this little lady.
Edey is her name. Libraries and brains are her game. 
Adorbs, right? And I don't use that hideous term willy nilly.
She's worth the eye rolls for that one.

I am loving the newest additions to the fabulous freebies
Jessa has to offer. I suggest you head right on over to  
Useless Trinkets and check out all of the fun and quirky digital
images available. For free, in case I failed to make that clear earlier.  


Here is the hop order for your hopping convenience.
Stop by and leave some love for the incredible sample projects.
Gloria http://creepyglowbugg.blogspot.de/ - you are here
Jennifer, Katrin und Lisa http://projekt-cupcake.blogspot.de/


Thursday, October 15, 2015

Gettin' smudgy

It's time for the newest installment in my 
Smeared Ink board book.  

For this page I have used one of the newer images called,

She's pretty amazing. I saw her as a Wizard of Oz witch,
so I kept her skin tone very green. And then it only seemed 
logical to give her red hair and dress her in purple and black.
Standard witch color palette.   

I received some glow in the dark embossing powder for my bday.
Thanks, Dani. How the hell did I not own this stuff before now?!
It is AWESOME!!! 

I used a fabulous red rubber skull pile image for 
the background which is nearly invisible in the daylight.
But once those lights go out, it's full on skullsville, man.
I also learned the hard and messy way that once you gesso your
substrate, heat emboss an image, and add metallic Gelatos, you can't rub 
the surface with a baby wipe or you'll remove all of the Gelato. Not the case
if your substrate is not gessoed or sealed. The pages of this book are kind of glossy
to begin with, so either way I was going to lose my Gelatos on this technique.  

I added some Crackle Accents to a witch tag, and then went over it with
Hickory Smoke distress ink to show off some of those cracks. 

I am really loving the direction this book is going.
It's going to be awesome once it's all done.


Be sure to check out the killer Ink-tober Sale going on at Smeared Ink.
And please stop by the Smudgy Antics blog to check out the incredible
eye candy created by my fellow DT sistahs.
  

Sunday, October 11, 2015

Halloween on the brain

There is so much going on right now, I barely have time to get involved with anything.
Overwhelmed much?
I did manage to take a moment and enjoy some affordable Halloween goodness 
from Wallyworld. Sleep pants!!! 
Halloween themed sleep pants for the "larger assed lady".
Even better.

These were actually in the men's department, but the fabric was too cool to pass up.
Even if it shrinks, I can still use the awesome fabric for something else.

I love these. Probably because they say "Creepy" on them.
And they are made for the "larger assed lady".

These are pretty cutesy, but who can pass up a cat in the moon print?
Apparently, I can't. 

Keeping in the Halloween spirit, I have joined in on the 
Very Vera Halloween ATC swap for a third time.
This little lady is Wednesday, from the Wednesday and Pugsley set 
from Vera Lane Studios.   
She has such a great look about her. And that under bite is adorable.  

I used the skull image from the Mad Hatter set,
and made a pile of what can only be described as old dolly heads, 
as a background for our sweet little Wednesday.  

I mailed her out last week. I hope she finds her way to her destination
unharmed, and in time for Halloween.


Sunday, October 4, 2015

A Horned Beetle Sprite, you say?!

Yes. Yes, I do say.

This is the newest addition to the Aurora Wings Sprite family.
Say hello to Horned Beetle Sprite.
Isn't he a spunky little dude?

I colored him with Copics and tried to keep him colored closely
to an actual Japanese Horned Beetle. I love the ones that are a deep 
mahogany color with bright red highlights. I tried to accomplish this
effect using E29 and R39, 46, and 35.

While looking up reference photos I noticed that quite a few of
these beetles have this gorgeous orange-yellow furry underside.
That explains my golden hued color choices for his face, body,
 and pantaloons. I just love how he looks ready to rumble.

Thanks for dropping by today.
Be sure to stop by the Aurora Wings Showcase blog to gaze
upon all the amazing samples for this image, and the other newbie. 
Both of which are available today in the Aurora Wings etsy shop.
May I also recommend joining the AW facebook group so you don't miss out 
on any new releases or coupon codes. Mitzi is super generous with her
coupon codes.

I'd love to enter this little guy in the following challenges:


Bride of Halloween

I love Halloween so much I wish I could marry it.
Actually, it is kind of my mistress 357 days a year.
Never far from my mind, or heart.

I made this card for my niece who loves Halloween and scary stuff 
just like her Auntie Glo. And her birthday is in October so she usually
scores some cool presents. 

I colored up this fabulous Halloween Vampire Bride from Faery Ink. 
This was the very first image I purchased from Faery Ink, but not the last. 
I love how she really pops against the gray of the card.
And who wouldn't love a Halloween themed veil? If I had it to do all over
again, I'd go with a Victorian Halloween wedding. Maybe not so literal on the 
veil adornments, but still undoubtedly Halloween.

I used various die cuts like the fence, the glittery bats, and the tag
for a bit more interest. This lady could have pulled off the card by herself,
but I wanted to add more goodies. I have a ton that don't get used all
that often. Yep, a ton. At least. I'm not proud of it.    

Thanks for dropping by today.
I'll be back tomorrow with a double post. No, really. 
Feast or famine around here. 
October is the month of harvest and feasting, so eat up!

I'd like to enter this card in the following challenges:
Faery Ink FB group - October Halloween Challenge


Thursday, October 1, 2015

October 1, 2015: And the race is on!


Today is October first. The day I anticipate every year, yet I am 
never quite ready for it to begin. This year is no different, except I 
was smart enough to know I wasn't going to be able to participate in 
the usual October festivities like The Countdown to Halloween,
or the 31 Days of Halloween. I knew I didn't even want to try this year.
Last year the stress almost killed me...

Today being the first, is the start of the new challenge at Smudgy Antics.
The theme is always Anything Goes as long as you use a Smeared Ink image.
No other rules apply. 

I am working on my repurposed children's board book.
These are wonderful substrates for a multitude of mediums
and techniques. Not to mention, they are stupid cheap at thriftstores
and yard sales.

I decided to go in an unusual direction for me by using pretty much
only black, white, and silver for this layout. The dp set the stage being
gray and white. The vintage images lent themselves to a muted palette as well.

I used the Anatomy 101 Ribs by cutting them right down the middle. 
I used black soot distress ink and made it blend into the dp better.
Then I highlighted the ribs with a white Posca paint pen. 
I really like how this turned out.

How can you not love these guys?
They are only two of the fifteen bat images available in the
A Little Bit Batty set. It was hard to choose just two. 

Here's the other side of the rib cage, along with a TH rub-on.
The red, black, and  white splatter really sets these images off quite nicely.

Bat 1 from the A Little Bit Batty set, some more rub-ons,
and a small medical ephemera.


This made me giggle a bit. I used the Profile Head from the 
Gross Anatomy set, and matched it with a card meant for tasty
Halloween treats. I like it better used this way. 

That's it for me today.
Be sure to stop by the Smudgy Antics challenge blog and check
out all of the other inspiring projects to whet your October appetite.